A step-by-step guide to setting up a fast, future-proof frontend workflow for modern web projects.
For years, many frontend projects relied on outdated build tools that only worked with old Node versions. In this guide, we’ll build a modern Gulp 4 workflow that works perfectly with Node.js 20, uses ESBuild for JavaScript, Dart Sass for CSS, and BrowserSync for live reloading.
This setup is ideal for:
- Static websites
- Marketing sites
- WordPress themes (assets-only)
- Long-term maintainable projects
What This Workflow Includes
- Gulp 4 (task runner)
- ESBuild (fast JS bundler)
- Dart Sass (modern Sass compiler)
- BrowserSync (live reload)
- Separate app and vendor assets
- Support for:
- HTML
- CSS (Sass)
- JavaScript
- Images
- Fonts
- Videos
- Fully compatible with Node.js 18+ / 20
Recommended Project Structure
project-root/
├── src/
│   ├── scss/
│   │   ├── app.scss
│   │   └── vendor.scss
│   ├── js/
│   │   ├── app.js
│   │   └── vendor.js
│   ├── images/
│   ├── fonts/
│   ├── videos/
│   └── index.html
├── dist/
├── gulpfile.js
├── package.json
└── node_modules/
Step 1: Install Node.js
Make sure you are running Node.js 18 or 20. Download Node.js from https://nodejs.org
node -v

Recommended:
- Node 20 LTS
Step 2: Install Dependencies
Initialize your project:
npm init -yInstall required packages:
npm install --save-dev \
gulp gulp-cli \
browser-sync \
esbuild \
sass gulp-sass \
gulp-autoprefixer \
gulp-clean-css \
gulp-sourcemaps
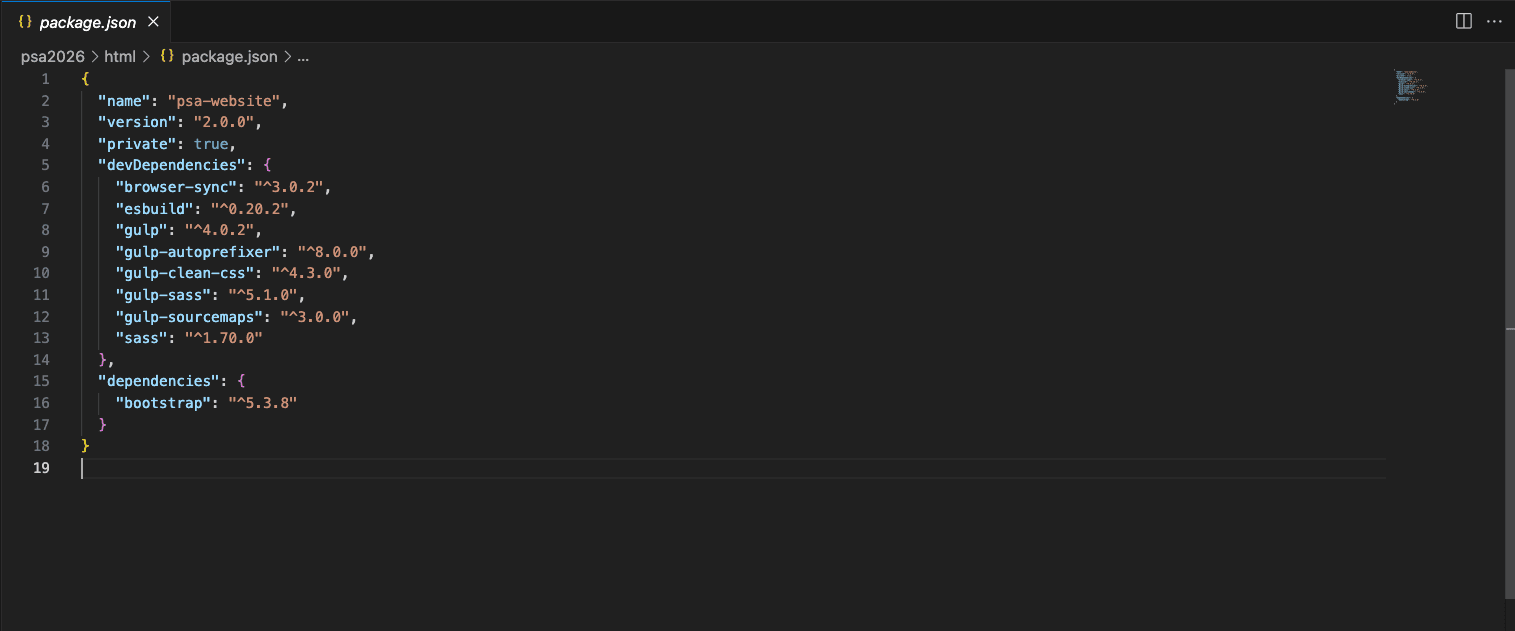
Step 3: package.json (example)
{
  "name": "modern-gulp-workflow",
  "private": true,
  "devDependencies": {
    "browser-sync": "^3.0.2",
    "esbuild": "^0.20.2",
    "gulp": "^4.0.2",
    "gulp-autoprefixer": "^8.0.0",
    "gulp-clean-css": "^4.3.0",
    "gulp-sass": "^5.1.0",
    "gulp-sourcemaps": "^3.0.0",
    "sass": "^1.70.0"
  },
  "browserslist": [
    "> 0.5%",
    "last 2 versions",
    "not dead"
  ]
}
Step 4: Create gulpfile.js
This is the complete production-ready configuration.
const { src, dest, watch, series, parallel } = require('gulp');
const dartSass = require('sass');
const gulpSass = require('gulp-sass');
const sass = gulpSass(dartSass);
const autoprefixer = require('gulp-autoprefixer');
const cleanCSS = require('gulp-clean-css');
const sourcemaps = require('gulp-sourcemaps');
const browserSync = require('browser-sync').create();
const esbuild = require('esbuild');
const fs = require('fs');
const path = require('path');
// Paths
const paths = {
html: 'src/**/*.html',
styles: {
app: 'src/scss/app.scss',
vendor: 'src/scss/vendor.scss'
},
scripts: {
app: 'src/js/app.js',
vendor: 'src/js/vendor.js'
},
images: 'src/images/**/*',
fonts: 'src/fonts/**/*',
videos: 'src/videos/**/*',
dist: 'dist'
};
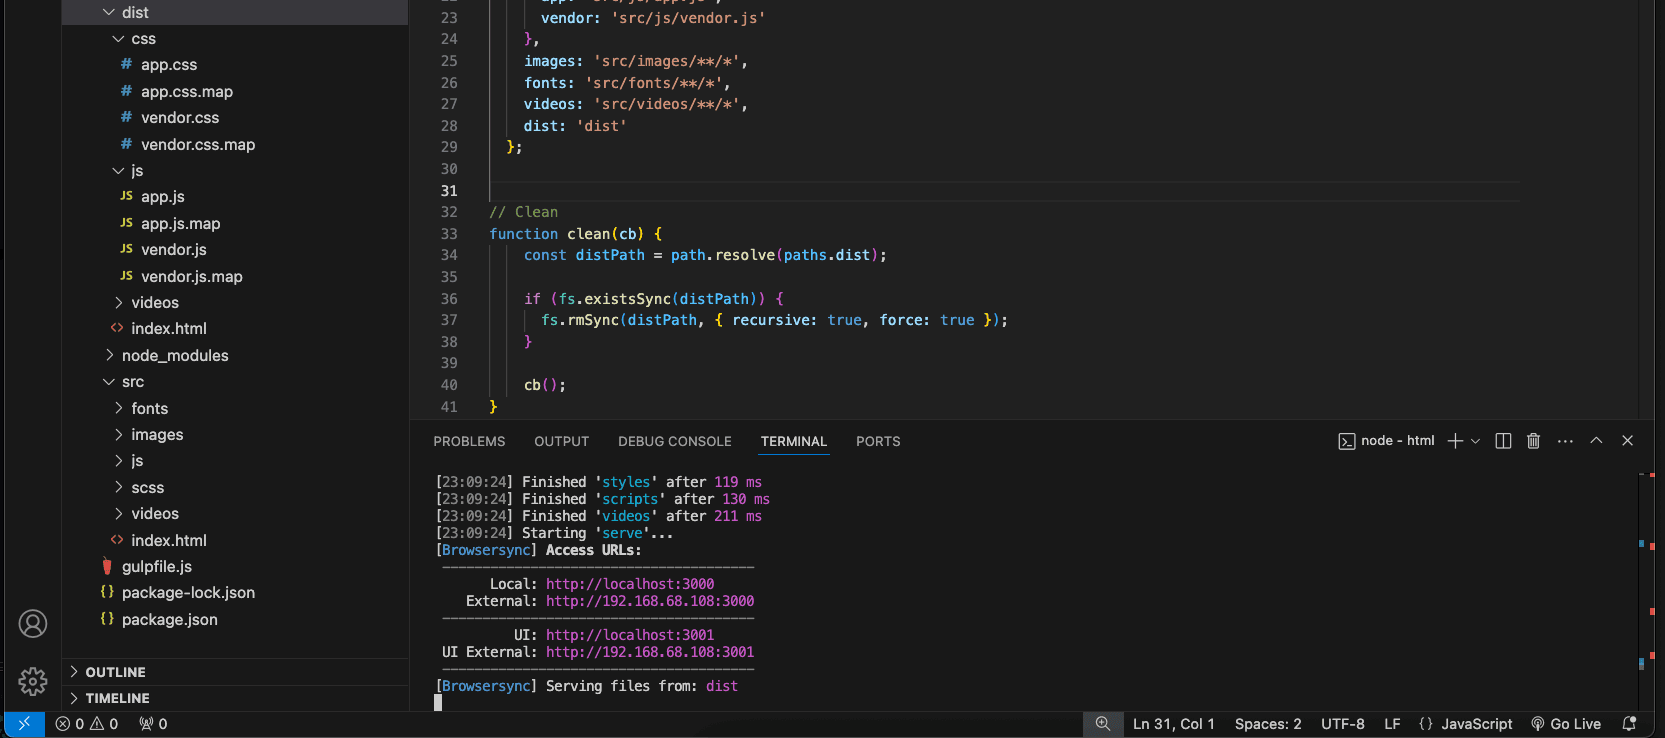
// Clean dist folder
function clean(cb) {
const distPath = path.resolve(paths.dist);
if (fs.existsSync(distPath)) {
fs.rmSync(distPath, { recursive: true, force: true });
}
cb();
}
// HTML
function html() {
return src(paths.html)
.pipe(dest(paths.dist))
.pipe(browserSync.stream());
}
// Styles
function styles() {
return src([paths.styles.app, paths.styles.vendor], { allowEmpty: true })
.pipe(sourcemaps.init())
.pipe(
sass({
outputStyle: 'expanded',
silenceDeprecations: [
'legacy-js-api',
'import',
'if-function',
'global-builtin',
'color-functions'
]
}).on('error', sass.logError)
)
.pipe(autoprefixer())
.pipe(cleanCSS())
.pipe(sourcemaps.write('.'))
.pipe(dest(`${paths.dist}/css`))
.pipe(browserSync.stream());
}
// Scripts (ESBuild)
function scripts(cb) {
Promise.all([
esbuild.build({
entryPoints: [paths.scripts.app],
bundle: true,
minify: true,
sourcemap: true,
outfile: `${paths.dist}/js/app.js`,
target: ['es2018']
}),
esbuild.build({
entryPoints: [paths.scripts.vendor],
bundle: true,
minify: true,
sourcemap: true,
outfile: `${paths.dist}/js/vendor.js`,
target: ['es2018']
})
])
.then(() => {
browserSync.reload();
cb();
})
.catch(err => {
console.error(err.message);
cb();
});
}
// Assets
const images = () => src(paths.images).pipe(dest(`${paths.dist}/images`)).pipe(browserSync.stream());
const fonts = () => src(paths.fonts).pipe(dest(`${paths.dist}/fonts`)).pipe(browserSync.stream());
const videos = () => src(paths.videos).pipe(dest(`${paths.dist}/videos`)).pipe(browserSync.stream());
// Serve
function serve() {
browserSync.init({
server: { baseDir: paths.dist },
open: false,
notify: false
});
watch(paths.html, html);
watch('src/scss/**/*.scss', styles);
watch('src/js/**/*.js', scripts);
watch(paths.images, images);
watch(paths.fonts, fonts);
watch(paths.videos, videos);
}
// Tasks
exports.build = series(clean, parallel(html, styles, scripts, images, fonts, videos));
exports.default = series(exports.build, serve);

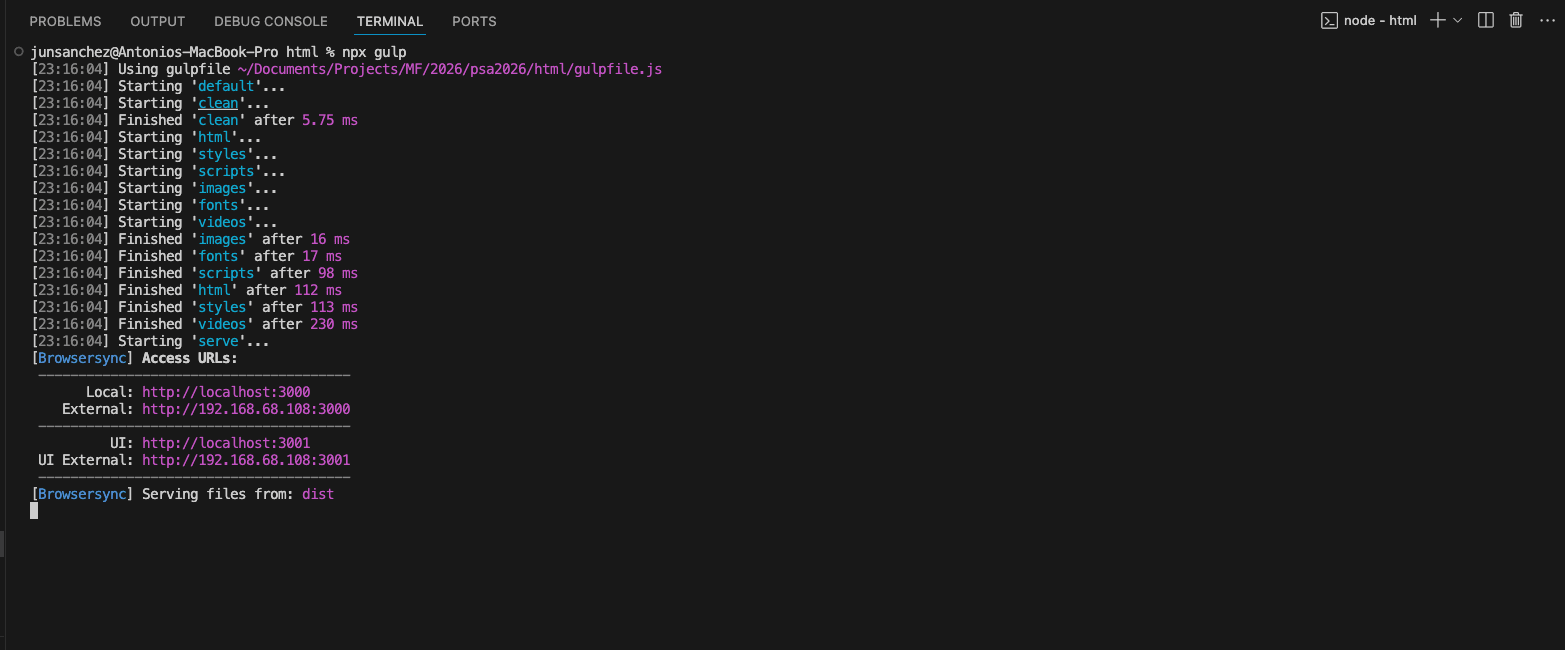
Step 5: Run the Project
npx gulpBrowserSync will start at:
http://localhost:3000
Best Practices for the Team
- One SCSS entry = one CSS file
- Keep third-party code in
vendor.scssandvendor.js - Do not compile partial SCSS files directly
- Do not modify files inside
node_modules - Always run
npx gulp(avoid global version issues)
Why This Workflow Works
- Fast: ESBuild is extremely fast
- Stable: No ESM/CommonJS conflicts
- Future-proof: Compatible with modern Node & Sass
- Flexible: Works for static sites and CMS projects
- Team-friendly: Clear separation of responsibilities
Final Result
dist/
├── css/
│   ├── app.css
│   └── vendor.css
├── js/
│   ├── app.js
│   └── vendor.js
├── images/
├── fonts/
├── videos/
└── index.html
Adding Bootstrap 5 to the Workflow (Optional)
Bootstrap 5 can be added cleanly to this workflow using NPM + Sass + ESBuild, without relying on CDNs or legacy tooling.
This approach allows:
- Better caching
- Smaller bundles
- Full control over styles
- Easy removal later if needed
Step 1: Install Bootstrap 5
From your project root, run:
npm install bootstrap@5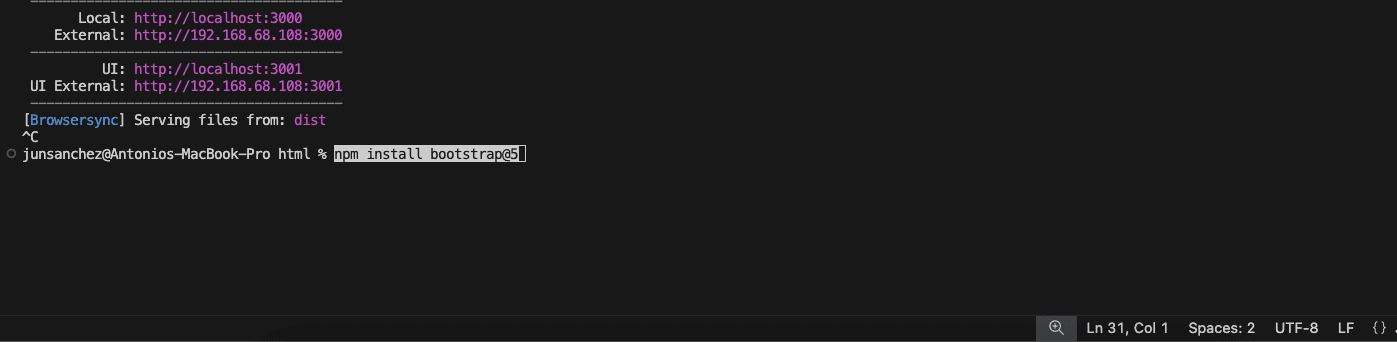
This installs:
- Bootstrap Sass source files
- Bootstrap JavaScript (no jQuery required)
Step 2: Add Bootstrap CSS (Sass)
Open
src/scss/vendor.scss
Add only this line:
/* src/scss/vendor.scss */
@use "../../node_modules/bootstrap/scss/bootstrap";
Important Notes
- Do not import Bootstrap files individually
- Do not use
@import - Bootstrap must be loaded as a single Sass entry
This ensures all internal mixins and variables work correctly.
Step 3: Add Bootstrap JavaScript
Open
src/js/vendor.jsAdd
// src/js/vendor.js
import 'bootstrap';
ESBuild will automatically bundle:
- Modals
- Dropdowns
- Collapse
- Tooltips
- Popovers
- And other JS components
Step 4: Load Vendor Files in HTML
Make sure vendor files load before app files.
<link rel="stylesheet" href="css/vendor.css">
<link rel="stylesheet" href="css/app.css">

<script src="js/vendor.js"></script>
<script src="js/app.js"></script>
Step 5: Run the Build
npx gulp
Removing Bootstrap Later (Optional)
If Bootstrap is no longer needed:
npm uninstall bootstrap
Then remove:
- The
@useline invendor.scss - The
import 'bootstrap'line invendor.js
Rebuild:
npx gulp
